
I've been collecting vintage game boxes for years. Most of them housed incomplete games that I've salvaged parts and pieces from for various projects. I love box graphics and couldn't part with them. So I recently decided to do something with them. We had a large serving tray that served as a sort of coffee table on top of our double ottoman. It was your basic brown with a rattan base. The rattan base was a refuge for crumbs and that always bugged me. So I decided to cover it with the cardboard box graphics.
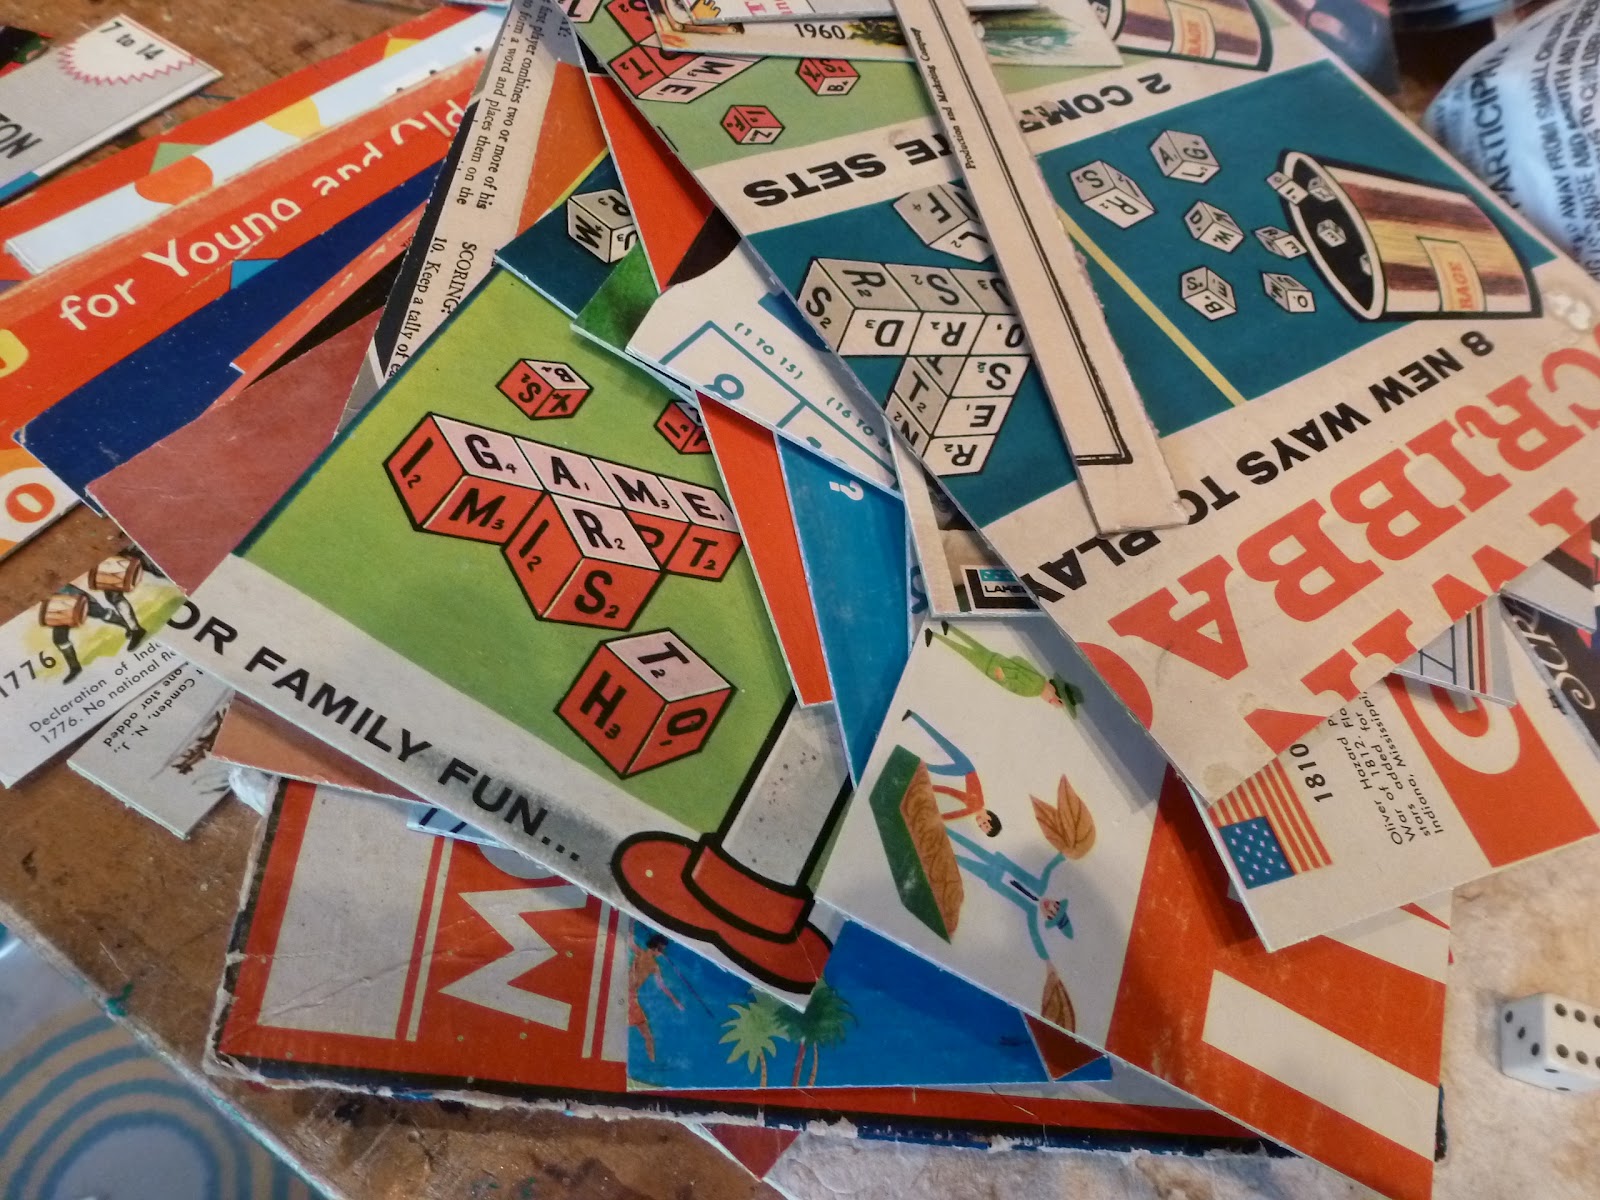
I started with my collection of cardboard and trimmed off any cracked or damaged areas.

Because the bottom of my tray wasn't flat, I asked my husband to cut a piece of plywood to fit into the tray. (If you have a flat bottomed tray or surface, this step won't be necessary.)
Then I created a border around the edges by trimming the cardboard pieces in varying lengths but the same width. I glued them down with white glue then used a brayer to flatten them down.

The next step was like creating a puzzle in the interior with varying sizes of box pieces. I used a heavy duty paper cutter to trim the cardboard but you can also use an Xacto blade to make your cuts.
After gluing down all of the pieces, I applied three coats of Mod Podge to seal the paper. I let each coat dry at least an hour.

I then applied three coats of gloss sealer. Again, I let each coat dry at least an hour.

I painted and sealed the wooden tray and inserted the wood panel. Since the tray was cut at an angle and the sides of the plywood were straight up and down, there was a slight gap between the two. To close the gap, I inserted a fringed paper trim. (I had purchased a roll of this fun paper ribbon at the New Stone Age Gallery last year without a clue as to what I'd use it for.)

The completed project- a fun, colorful transformation!
No comments:
Post a Comment